Question 1
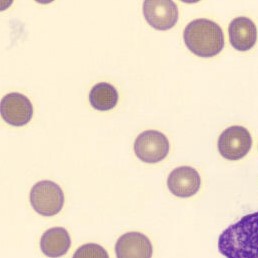
Reveal identification
Spherocyte. Look for a round, dense red cell with reduced or absent central pallor. Compare its size with nearby red cells before deciding.
Use five peripheral-smear images to practice a repeatable identification process: describe what you see, compare the closest alternatives, then reveal the answer. This page is educational practice, not a diagnostic reference.
Spherocyte. Look for a round, dense red cell with reduced or absent central pallor. Compare its size with nearby red cells before deciding.
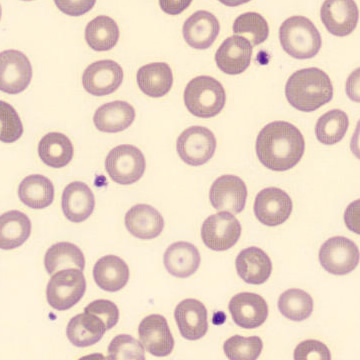
Target cell. The central and peripheral hemoglobin creates the characteristic bull's-eye appearance. The ASH Image Bank describes this pattern as an increased membrane-to-volume relationship.
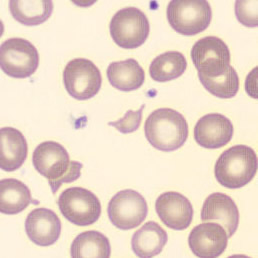
Schistocytes. These are fragmented red cells with irregular outlines. Train with several examples because individual fragments can take different forms.
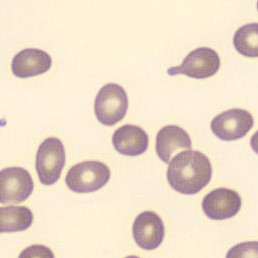
Teardrop cell (dacrocyte). Identify the pear-shaped outline and compare multiple cells across the smear before treating the finding as meaningful.
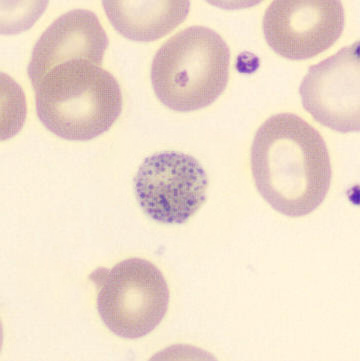
Basophilic stippling. Look for multiple blue-purple granules distributed through the red cell. Confirm the staining pattern using a trusted atlas and the full smear context.
ViviCell includes focused cell-identification sessions, an atlas, spaced review, and more than 1,500 sourced microscopy images. You can also browse the peer-reviewed ASH Image Bank atlas.
Practice images are drawn from ViviCell's sourced microscopy collection; source details for individual images are recorded in the app. Target-cell recognition context was checked against the ASH Image Bank. Educational use only; confirm findings against your program's references and laboratory procedures.